Making a video for your business might seem like a big deal, but honestly, it’s more about breaking it down into manageable steps. Whether you’re trying to show off a new product, explain a service, or just connect with your customers on a more personal level, video is a really effective way to do it. Think of it as telling your brand’s story in a way that’s easy to watch and remember. This guide will walk you through how to make a video for business, from the initial idea all the way to getting it out there for people to see. We’ll cover the basics so you can create something that works for you.
Key Takeaways
- Start by figuring out exactly why you need the video and who you’re trying to reach. This helps shape everything else you do.
- You don’t need super fancy gear to start. A decent phone camera, good lighting, and clear audio are more important than you might think.
- When filming, pay attention to how things look and sound. Keep your camera steady and try to get a variety of shots, like close-ups and wider views.
- Editing is where your video really comes together. Trim out the extra bits, make sure the sound is good, and add simple graphics if needed.
- Once it’s done, share it where your audience will see it, like social media or your website, and think about how to get more people to watch it.
Getting Started: Planning Your Business Video
Getting your business video off the ground is all about smart planning. Think of this as the blueprint for your entire project. Without a solid plan, you might end up with a video that misses the mark or just doesn’t quite hit the right notes with the people you want to reach. It’s like trying to bake a cake without a recipe – you might get something edible, but it probably won’t be your best work!
Identify Your Video’s Purpose
First things first, what exactly do you want this video to do? Are you trying to introduce your brand to new customers, show off a cool new product, or maybe explain a tricky service? Knowing your main goal helps shape everything else. For instance, a video aimed at getting people to buy something will be pretty different from one just meant to get your name out there. It’s helpful to think about where this video fits in your overall marketing plan. Are you trying to grab attention, get people thinking, or seal the deal? Having this clear purpose is your first big step toward success. You can find a helpful video production planning checklist that covers these initial stages right here.
Define Your Target Audience
Who are you actually talking to? Picture them! What do they care about? What problems are they trying to solve? When you know your audience, you can tailor your message, the language you use, and even the style of the video to really connect with them. If you’re posting on your company’s social media, your audience is likely your current followers. But if this video is for a wider campaign, you’ll want to get more specific about who you’re trying to reach.
Understanding your audience helps you speak their language and address their needs directly, making your video much more impactful.
Craft a Compelling Message
Now that you know your purpose and who you’re talking to, it’s time to figure out what you want to say. What’s the one big takeaway you want people to remember? Keep it focused! Trying to cram too much information into one video can overwhelm viewers. Think about what makes your business or product special and how you can communicate that clearly and engagingly. A strong opening is super important – you’ve only got a few seconds to grab attention. Get straight to the point and make it interesting right away. And don’t forget a clear call to action at the end! What should they do next? Visit your website? Sign up for something? Make it obvious.
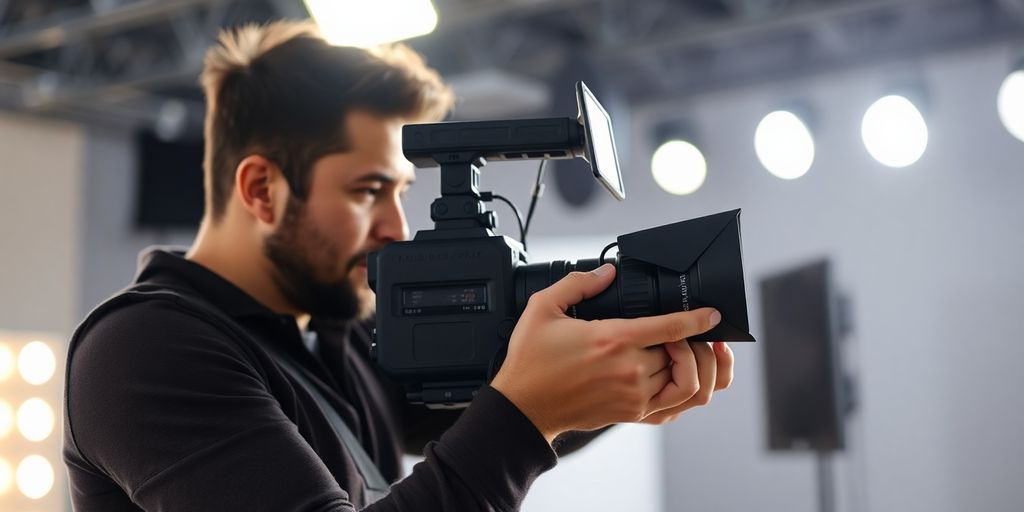
Essential Equipment for Great Footage
Alright, let’s talk about the gear that’s going to make your business videos look and sound fantastic! You don’t need a Hollywood studio, but having the right tools makes a huge difference. Think of it as giving your message a really nice outfit to wear.
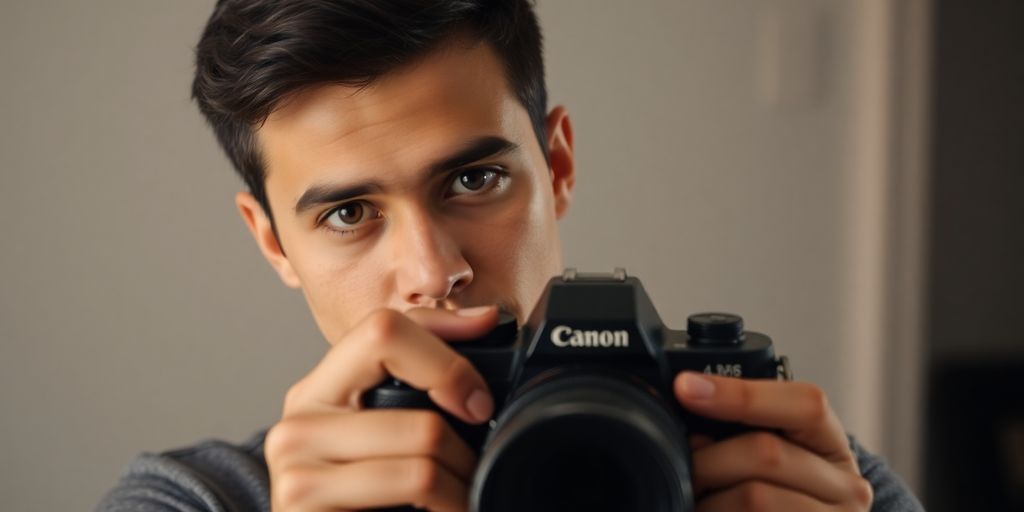
Choosing the Right Camera
First up, the camera. While your smartphone can totally work for some things, if you want that extra polish, consider a dedicated camera. DSLR or mirrorless cameras are super popular because they give you great image quality and let you swap out lenses. This means you can get different looks, like a blurry background to make your subject pop. Don’t stress too much about having the absolute latest model; a solid camera from a few years ago will still do a great job. The key is to understand how to use it well.
Ensuring Crystal-Clear Audio
Seriously, bad audio can ruin even the best-looking video. People will click away faster than you can say "what was that?" So, grab an external microphone. A simple lavalier mic (the little clip-on kind) is a lifesaver for interviews or talking-head videos. If you’re filming a wider scene, a shotgun mic can help pick up sound from a distance. Getting good sound is often more important than getting the fanciest camera, so don’t skimp here. You can find some really decent mics without breaking the bank.
Stabilizing Your Shots
Shaky footage is a big no-no. It just looks amateurish and can be really distracting. A tripod is your best friend for static shots, like when you’re filming a presentation or a product display. If you plan on moving the camera around, like following someone as they walk, a gimbal or a simple stabilizer can make a world of difference. It smooths out all those little jitters and makes your video look much more professional. It’s all about making your video easy and pleasant to watch.
Remember, the goal is to make your video look and sound good enough that people focus on your message, not on distracting technical issues. Start with what you can manage, and you’ll be surprised at how professional your videos can look.
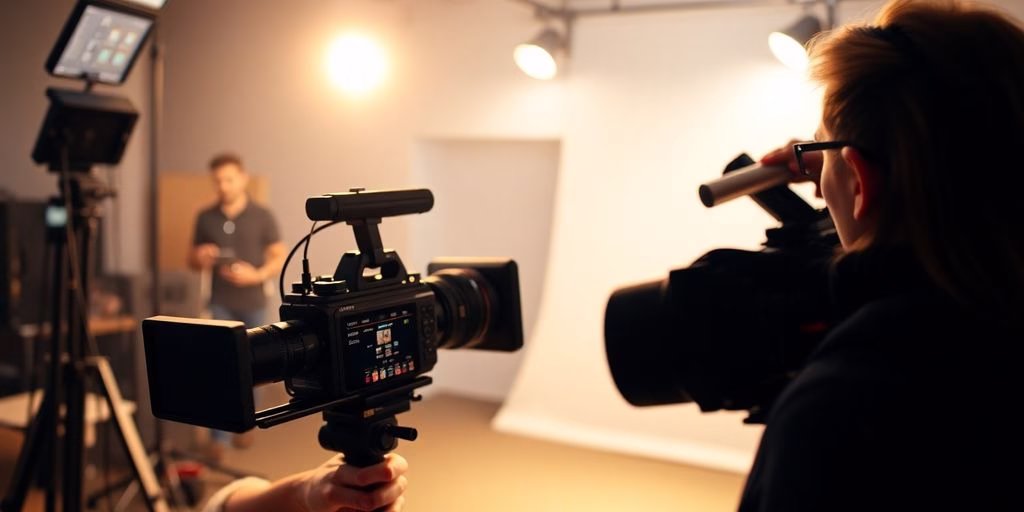
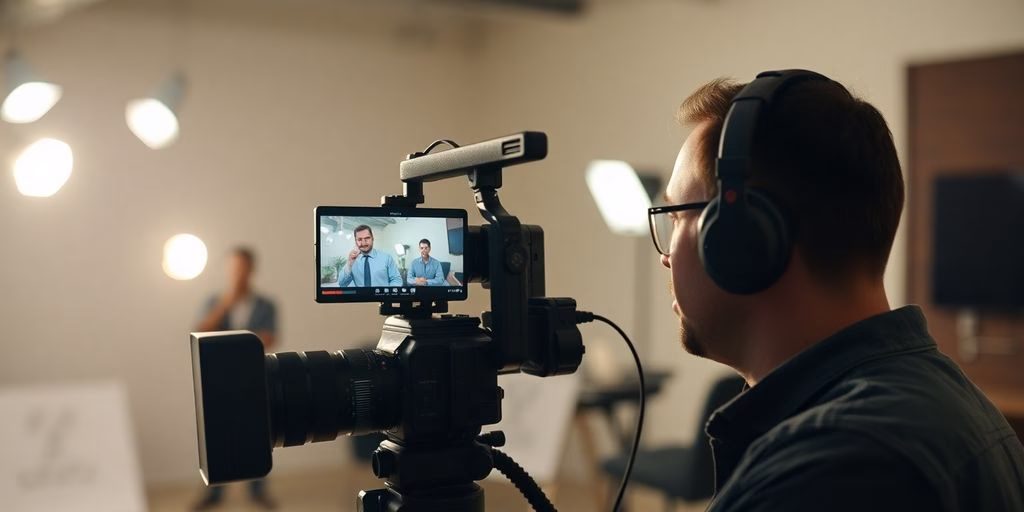
Bringing Your Vision to Life: Filming Techniques
Now that you’ve got your plan and gear sorted, it’s time for the fun part: actually filming! This is where your vision starts to look like a real video. Don’t worry if it feels a little awkward at first; everyone starts somewhere.
Mastering Lighting and Composition
Good lighting makes a huge difference. Think about where your light source is coming from. Natural light from a window is often great, but try not to have it directly behind your subject, or they’ll end up looking like a silhouette. If you’re using artificial lights, play around with them. You don’t need fancy studio setups to get decent results. Sometimes just a couple of lamps can do the trick.
Composition is all about how you frame your shot. A simple trick is the ‘rule of thirds’. Imagine your screen is divided into nine equal squares by two horizontal and two vertical lines. Try to place your main subject along these lines or where they intersect. It makes the shot more interesting to look at. Also, pay attention to what’s in the background. A messy background can really distract from your message. Try to keep it clean or use a shallow depth of field if your camera allows, which blurs the background nicely.
Always do a quick test shot before you start rolling for real. Check your lighting and how your subject is framed. It’s way easier to fix things now than in editing.
Capturing Engaging B-Roll
B-roll is basically the extra footage you shoot that isn’t the main action or talking head. Think of shots of your product, your office space, people working, or anything that visually supports what’s being said. It’s super useful for covering cuts in your main footage or just making the video more dynamic. When you’re shooting your main content, try to grab some B-roll too. Get different angles and details. This footage is a lifesaver when you get to editing and need something to cut to. You can find some great tips on what kind of shots to get for your business videos here.
Keeping Your Camera Steady
Shaky footage is a big no-no for professional-looking videos. The easiest way to avoid this is to use a tripod. Seriously, it’s one of the best investments you can make for your video setup. If you don’t have a tripod, try to brace your camera against something stable, like a table or a wall. If you have to shoot handheld, try to keep your elbows tucked in close to your body and move smoothly. Some cameras and phones have image stabilization built-in, which helps a lot, but a tripod is still king.
Remember to take your time during filming. Rushing leads to mistakes, and it’s better to get it right in camera than to struggle with fixing it later. Happy filming!
Polishing Your Production: The Editing Process
Now that you’ve captured all your footage, it’s time to make it look really good. This is where the magic happens, turning all those clips into something people actually want to watch.
Seamlessly Editing Your Clips
First things first, you need to get your footage organized. If you used multiple cameras, you’ll have a lot of files to sort through. Lay them all out and start picking the best takes. Think about the story you want to tell and arrange your clips to make sense. This is where you’ll cut out all the extra bits that don’t add anything. You’re basically building the backbone of your video here, making sure the flow feels right. It’s a good idea to get a rough cut done first, just to see how everything fits together before you start adding fancy stuff.
Enhancing Audio Quality
Good sound is just as important as good video, maybe even more so. You’ll want to clean up any background noise, like humming from lights or traffic outside. If you have voiceovers or dialogue, make sure they’re clear and easy to understand. Adding background music can really set the mood, but pick something that fits the vibe of your video and doesn’t overpower the speech. Getting the audio levels right is key so viewers don’t have to constantly adjust their volume.
Adding Visual Flair with Graphics
This is where you can really make your video pop. Think about adding text overlays for important information, like names or key stats. Simple animations or transitions between scenes can make the video more dynamic. If you have a logo, now’s the time to add it in a way that looks professional. Remember, the goal is to make your video look polished and professional, not cluttered. You can find some great resources for video editing software online to help you with these steps.
Making Your Video Shine: Color and Export
Alright, you’ve filmed your masterpiece, and now it’s time to make it look absolutely fantastic! This is where we polish things up and get your video ready for the world. Think of this stage as giving your video a really good spa day – it deserves it!
Color Correction for a Polished Look
So, your footage might look a little… well, raw right now. That’s totally normal! Color correction is all about making those colors pop and look natural. We’re talking about fixing white balance, making sure the brightness is just right, and getting the colors to match up across different clips. It’s like making sure all your photos have that consistent, pleasing vibe. This step really makes a difference in how professional your video feels. You can learn more about color grading in Premiere Pro to get started.
Remember, the goal here isn’t to make things look fake or overly stylized (unless that’s your specific goal!). It’s about making your footage look its best, like how you remember seeing it in real life.
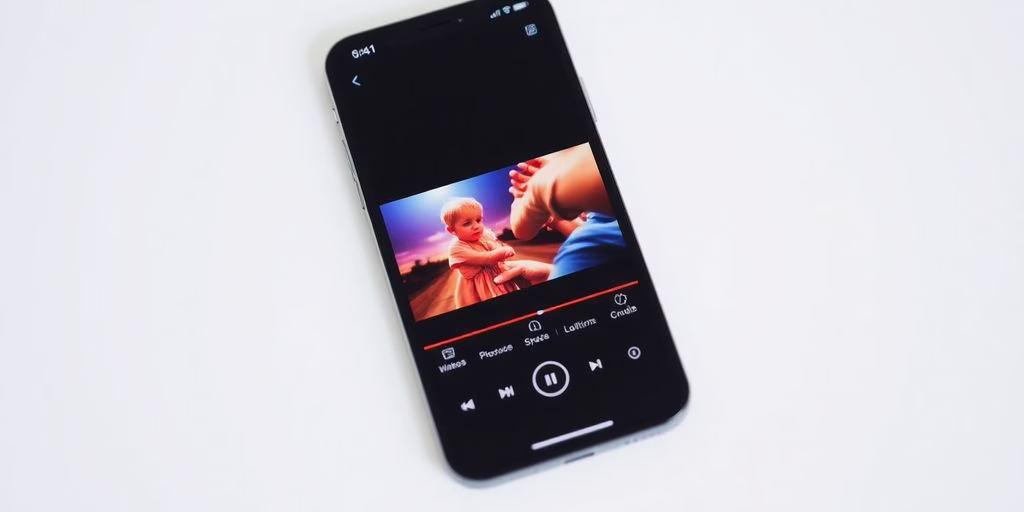
Exporting for Maximum Reach
Now for the big moment: exporting! This is where you save your finished video. You’ll want to pick the right settings based on where you plan to share it. For example, exporting for YouTube is different than exporting a quick version to send to a colleague. Think about:
- Resolution: Higher resolution usually means a clearer picture, but also a bigger file size.
- Frame Rate: This affects how smooth motion looks.
- File Format: Different platforms prefer different file types.
Getting these settings right means your video will look great and play smoothly on whatever device someone is using.
Hosting Your Masterpiece
Once your video is exported, it needs a home! You’ve got a few good options:
- YouTube: Great for discoverability and reaching a wide audience. Plus, it’s free!
- Vimeo: Often preferred by creatives for its clean interface and good quality.
- Your Own Website: Gives you the most control over branding and user experience.
Choosing where to host depends on your goals. If you want people to find your video through search, YouTube is a solid bet. If you’re sharing it directly with clients or a specific audience, Vimeo or your own site might be better.
Sharing Your Story: Distribution Strategies
So, you’ve poured your heart and soul into making a fantastic business video. That’s awesome! But what happens now? You can’t just let it sit there, right? Getting your video seen by the right people is just as important as making it look good. Think of it like baking a cake – you wouldn’t hide it in the pantry, would you? You want everyone to enjoy a slice!
Optimizing Videos for Search
First things first, let’s make sure people can actually find your video. This is where Search Engine Optimization, or SEO, comes in. It’s not as scary as it sounds, honestly. It’s mostly about using the right words so that search engines like Google or YouTube know what your video is about.
Here’s a quick rundown:
- Keywords are your best friend: Sprinkle relevant keywords into your video’s title, description, and tags. If you made a video on how to use your new widget, use terms like "how to use widget" or "widget tutorial."
- Transcribe it: Adding captions or a full transcript makes your video accessible and also gives search engines more text to read. This is a big win for discoverability.
- Thumbnails matter: A catchy thumbnail can make someone click on your video even if they weren’t actively searching for it. Make it clear and interesting!
Think of your video’s title and description as a mini-advertisement. You want to grab attention and clearly state what the viewer will get from watching.
Leveraging Social Media Platforms
Now, let’s talk about where to share. Social media is a goldmine for getting your video out there. But you can’t just post the same video everywhere and expect magic. Each platform has its own vibe and audience.
- YouTube: Still the king for longer videos and tutorials. It’s great for search too.
- TikTok & Instagram Reels: Perfect for short, punchy videos. Think teasers or quick tips. You might need to reformat your video for these platforms, maybe cutting it down or changing the orientation.
- Facebook & LinkedIn: Good for sharing with specific communities or professional networks. Tailor your message to the platform.
Remember to post natively – upload the video directly to the platform rather than just sharing a link. This usually gets you better reach. You can find great tips on how to maximize your video’s impact.
Repurposing Content Across Channels
Don’t let your video’s life end after the first post! Repurposing is all about getting more mileage out of the content you’ve already created. It’s smart and saves you time.
- Cut it up: Take a longer video and pull out short clips for social media. A 10-minute tutorial could become five 1-minute tips.
- Change the format: Can you turn key points from your video into a blog post or an infographic? Maybe use a quote from the video as a social media graphic.
- Use teasers: Post a short, exciting clip on one platform to drive viewers to the full video on another, like YouTube or your website.
By thinking creatively about how to reuse your video content, you keep your audience engaged and make sure your hard work pays off across the board.
Building Confidence in Video Creation
Feeling a bit nervous about making videos? Totally normal! Most people do when they first start out. It’s like learning anything new, right? You wouldn’t expect to be a pro chef after one cooking class. Video creation is the same way. The key is to just get going and not worry too much about perfection from the get-go.
Start Small and Practice
Don’t feel like you need to produce a Hollywood blockbuster on day one. Seriously, just grab your phone and shoot something simple. Maybe it’s a quick intro to your business, or a behind-the-scenes look at your workspace. The more you practice, the more comfortable you’ll get with the camera and the whole process. Think of it as building a muscle – it gets stronger with every workout. You can even try filming yourself talking about your day; it sounds silly, but it really helps you get used to seeing and hearing yourself on screen.
Focus on Your Core Message
When you’re starting out, it’s easy to get caught up in all the technical stuff – the lighting, the angles, the editing software. But honestly, what matters most is what you’re trying to say. What problem are you solving for your customers? What makes your business special? Keep that at the forefront. If your message is clear and helpful, people will connect with it, even if the video isn’t perfectly polished. Remember, authenticity is a big deal these days. People want to connect with real people, not just slick corporate videos. So, focus on sharing your passion and knowledge, and let that guide you. It’s a great way to expand your small business.
Embrace the Learning Curve
Every single video creator, even the big names you see online, started somewhere. They all had to learn. There will be bloopers, awkward moments, and times you wish you could redo a shot. That’s all part of the journey! Instead of getting discouraged, try to see these as learning opportunities. What could you do differently next time? Maybe you need better lighting, or perhaps you should script out your talking points a bit more.
The goal isn’t to be perfect right away, but to be better than you were yesterday. Celebrate the small wins, like getting a shot you’re happy with or figuring out a new editing trick. Keep experimenting, keep creating, and you’ll be amazed at how quickly your confidence and skills grow.
You’ve Got This!
So, there you have it! Making business videos might seem like a lot at first, but you’ve learned the ropes from planning to the final polish. Remember, practice really does make perfect, so don’t be afraid to just start creating. Your first video might not win any awards, but it’s a step forward. Keep experimenting, keep learning, and you’ll totally see your business grow with awesome video content. It’s a journey, and you’re ready to take it on!
Frequently Asked Questions
What’s the first step to making a business video?
Think about why you’re making the video. Is it to sell something, teach people something, or just let them know about your business? Knowing your goal helps you make the video the right way.
How can I make sure my video sounds good?
Good audio is super important! If people can’t hear you clearly, they might stop watching. Using a simple microphone, like one that clips onto your shirt, can make a big difference. Always check your sound before you start recording.
What kind of equipment do I really need?
You don’t need fancy, expensive gear to start. A smartphone can work great! Using a tripod or holding the camera steady helps a lot. Natural light from a window is often better than bad artificial lights.
How long should my business video be?
Keep it short and to the point! Most people have short attention spans online. Try to make your video under two minutes. Start with something interesting right away to grab their attention.
What does ‘exporting’ mean for my video?
After you finish editing, you need to save your video in the right way for where you’ll share it, like YouTube or Instagram. This makes sure it looks good and plays smoothly on phones and computers.
How do I get better at making videos if I’m new to it?
Don’t be afraid to just start making videos! Your first ones might not be perfect, and that’s okay. The more you practice, the better you’ll get at planning, filming, and editing. Focus on sharing your main message clearly.